Halloween is my favourite time of the year 🙂 Unfortunately noone in England seems to celebrate it… except for me!
I’ve been having a Halloween party every year for the past 7 years, with the exception of this year because of wedding plans, honeymoon and moving country I’ve just had too much going on to plan something big. I did see my best friend, my Mom and a family friend though and we had a lovely pre-Halloween dinner (on the Saturday) while watching Paranormal Investigation Live (which seems to be the replacement for Most Haunted Live). I have to say, we laughed more than anything but it was fun to have on in the background while we chatted and ate together 🙂
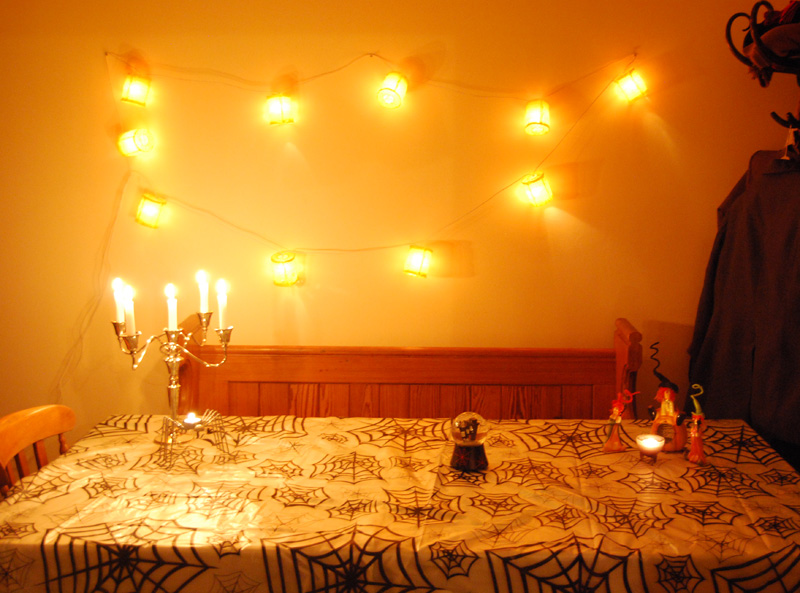
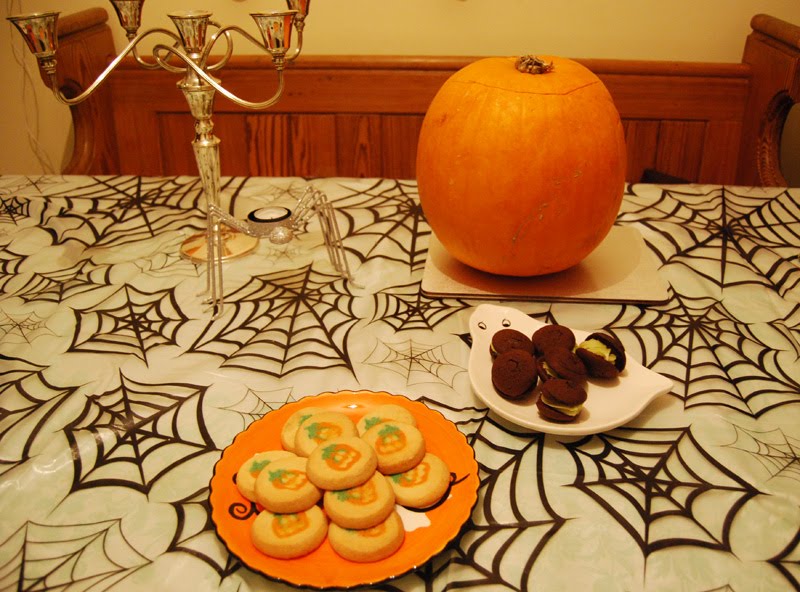
I decorated the dining room with orange lanterns, a candelabra that’s been in the family a long time, and some general Halloween decorations and cobweb tablecloth.
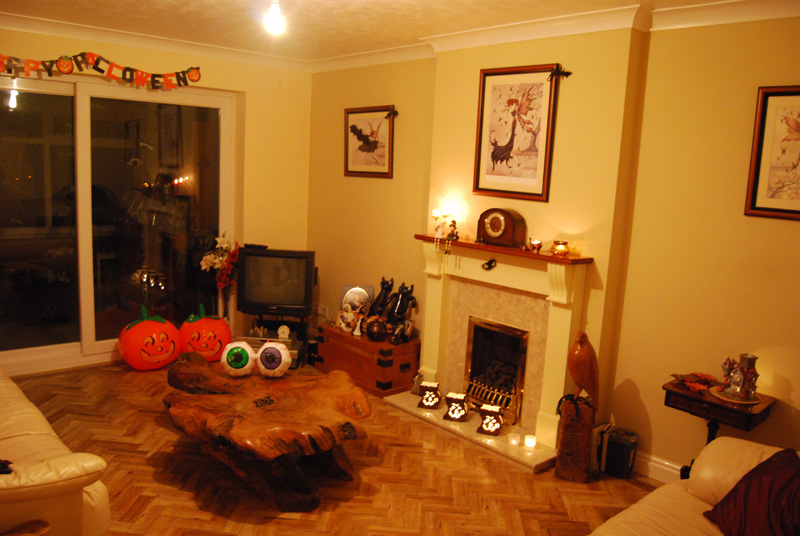
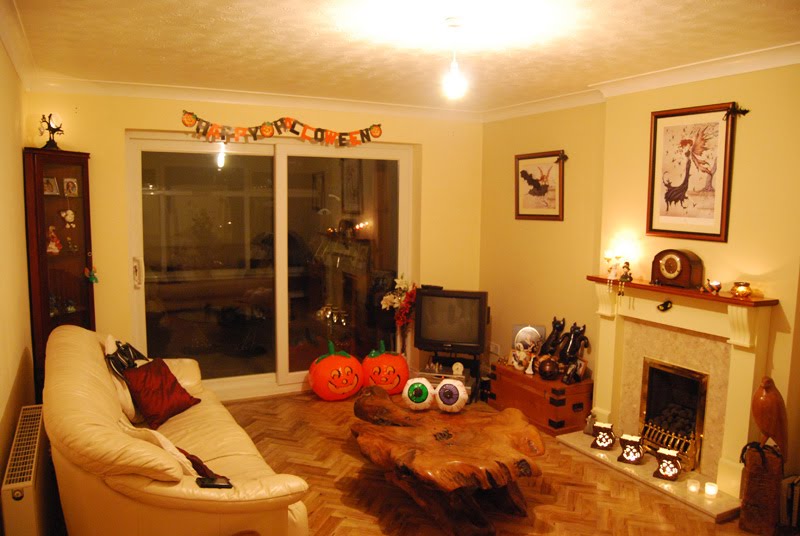
Here is the lounge (couldn’t get it all in one shot), I didn’t put all of my decorations up this year to keep it more “homey” and autumnal rather than spooky and cluttered.
Several years ago my Mom and I made some ghosts to hang around the house, and they’re still going strong now! Keeping an eye on the guests and having a good time 🙂
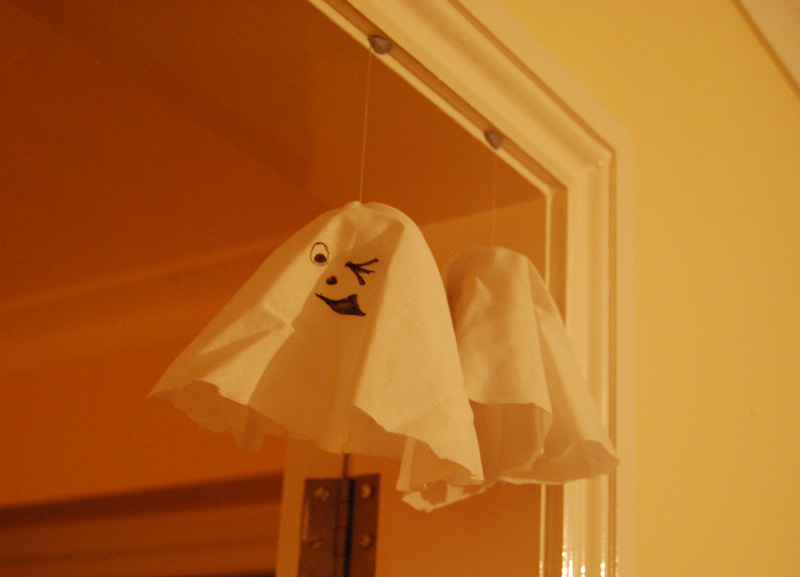
These are really simple to make and so effective! You can give them any expression you want and it’s a great project for children 🙂
To make the “floating” ghosts you will need:
White cloth (we cut up an old bed sheet)
Aluminium foil (kitchen foil)
Black marker or felt tip pen
Needle and white thread (adult supervision here!)
White tac (or blue tac…we ran out of white)
First tear off some aluminium foil and scrunch it into a ball. This can be any size you want, depending on the size you would like your ghosts to be. Then cut the white cloth into several circles – we used a dinner plate to measure each circle (use adult supervision with this, or have an adult do the cutting).
Next, draw on your funny ghost faces – one face on each circle of material, a little bit away from the center – if you put your aluminium foil ball under the cloth, in the middle, you can see exactly where the face should be drawn.
Next, place the aluminium foil ball under the cloth, in the center, and sew them together at the top (adult supervision or assistance here), making a couple of knots to hold it in place and leaving a length of cotton free to use as a hanging thread.
You now have a ghost! Attach him in doorways or on picture frames, or anywhere you like with white or blue tac (or tape if you prefer). They swing and twirl really nicely in doorways 🙂 You could give your ghosts a scalloped or zig-zag edge to the material instead of the clean lines of the circle too!
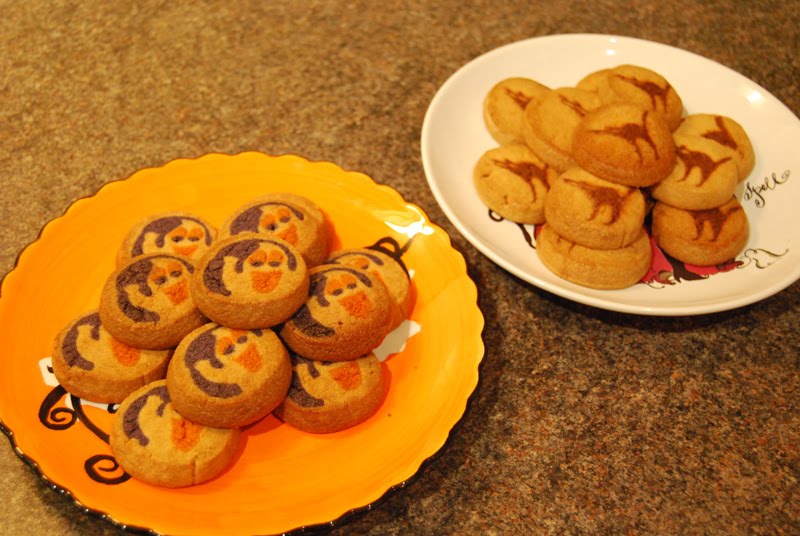
Last, but by no means least, is a discovery I made last year when my then-fiance (now husband) took me Halloween food shopping on the air base. What I found were Pillsbury ready-to-bake sugar cookies with cat shapes in them! We bought a box to try and they were delicious! So this year I went and grabbed a couple of boxes of the cat ones but also tried the pumpkin and ghost cookies too. They’re such an easy addition to a Halloween table and so tasty – I like them fresh from the oven when they’re still a little bit gooey in the middle. Yum 😀
The plate of non-cookies in the first picture are Marks & Spencer Wicked Whoopie Pies, which were new this year. I’ve got to say they were way too sweet for me, but my Mom loved them and ate almost a whole plate of them lol!
The cats got a bit stretched..well, I suppose cats do like stretching a lot!